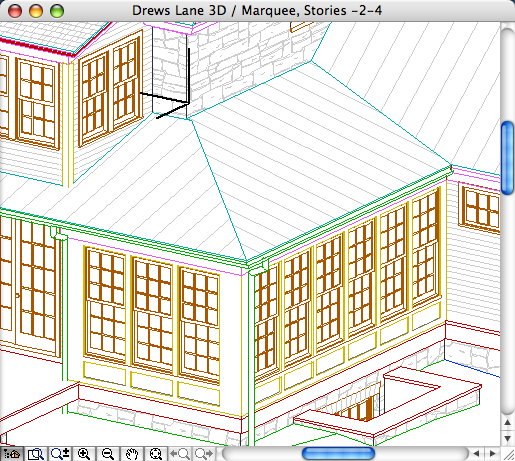
This technique is for wainscot, or glazing areas where the trim of multiple window units runs together. Short version: a thin wall with empty openings. It's a good example of 'throw down and fix'. Here's the subject structure:
Draw a wall with the thickness of the window casing. How about 1". Don't worry about the elevation or height. I find it easier to place the wall some distance away from the building wall.
Activate the window tool and set it to use an empty opening. If you know the size of the windows, use it. I prefer to adjust the size in section/elevation.
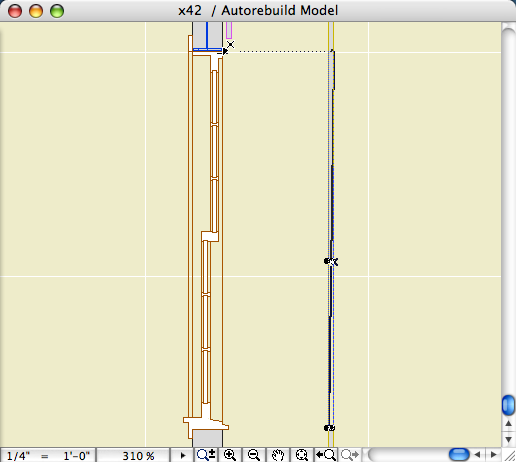
Place a section marker through the main wall and the trim wall. Open the section.
You can't stretch walls in section, but you can stretch windows. We'll look at a workaround for wall stretching.
In the section, drag the trim wall so the bottom is at the right elevation.
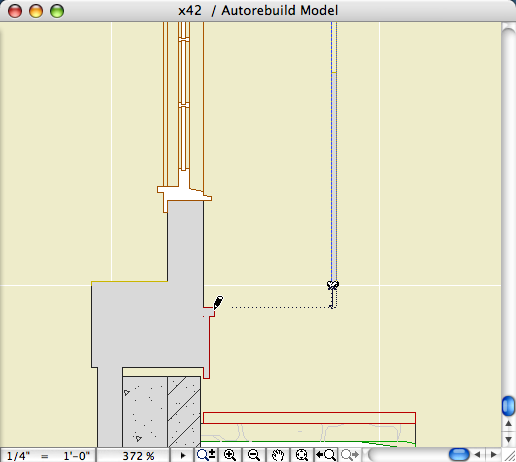
For the top of the wall: Set the origin back to the project origin (Double-click the origin button). Rest the cursor at the proper elevation of the wall top. Type 'Y', which highlights the Y field of the coordinate box, then Copy (Cmd/Ctrl+C).
With the trim wall selected, type 'T'. This highlights the top elevation value in the Info Box. Paste (Cmd/Ctrl+V). This puts the top of the wall at the elevation you measured with the cursor.
Why this works: The T & B elevations in the Info Box are always to project zero. (Exception: doors and windows.) By resetting the project origin, you can get the absolute height of any point in the section. By pasting these values, you have precisely elevated or stretched the element. Note that this does not work in the settings dialog, only in the Info Box.
The other thing I like about this technique is that it's graphical; you can copy and paste the values without even noticing what they are.
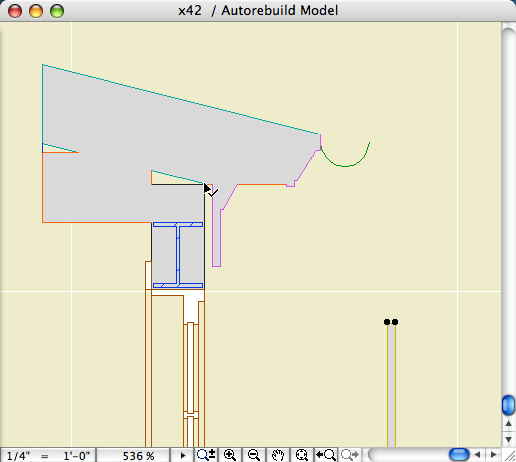
Now the wall height is correct. Next we fix the height of the opening. I want the hole to meet the bottom of the window sill. Just like with the wall, it's a drag operation.
A rebuild is required to update the wall geometry.
To set the height of the opening, you can stretch the opening directly. Or, you can place the origin at the bottom of the sill, measure the height, and use the Y-copy T-paste technique. Remember, for windows the T box contains the actual height.
(In these images, sometimes the origin appears to be not where I say it should be. This is because Archicad temporarily moves the origin during edit operations.)
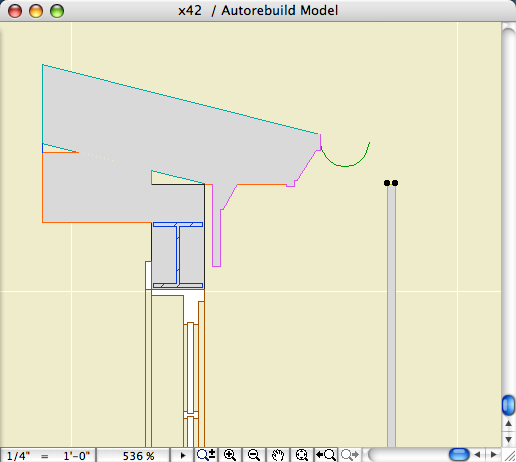
Another rebuild shows the corrected opening.
In addition to the opening for the window itself, we're going to build a panel in the space below the window. We'll do this now, since you can drag-copy openings in section/elevation. I want the bottom rail of the panel to be four inches wide, and the top rail, under the sill, to be 3 1/2 inches.
Place the origin at the bottom of the trim wall. Select the opening, issue the drag command, and type option/alt to make a copy. Shift-constrain the path, then type 'Y', and 4", and return. With the opening still selected, before rebuilding, set the height to something very short. If the two openings do not overlap, they are easier to select. (Tip: if you have your window height preference set to keep the head height, you'll need to drag the opening back down.)
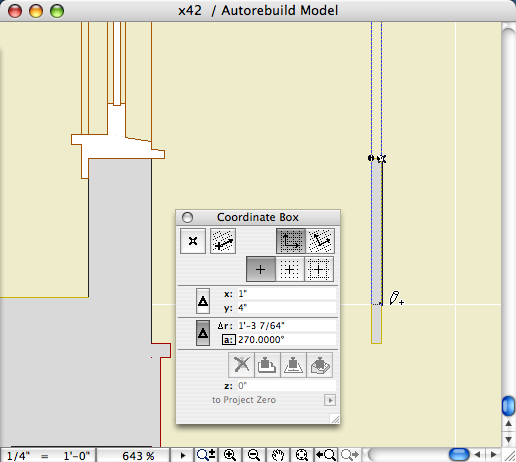
Move the origin the bottom of the top hole. Stretch the lower hole, shift-constrain, type 'Y', and -3 1/2", and return. Rebuild.

Now we have the heights correct for the trim wall and one pair of openings. We need to fix the width of the openings, and then multiply them.
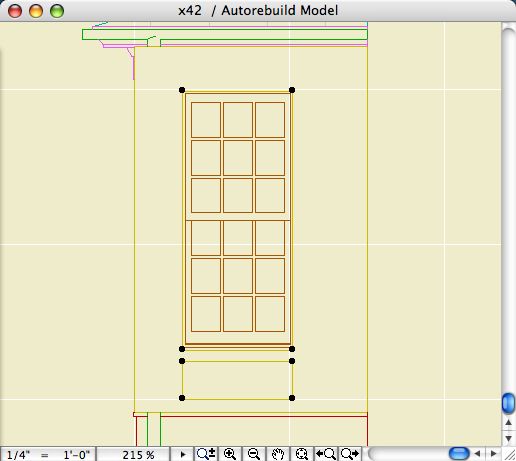
Place another section, facing the trim wall. Make it deep enough to see the window wall beyond.
Stretch the big opening to fit the window, and then stretch the lower opening to match it. You can take precise measurements of the reveals and fit the openings exactly how you want.
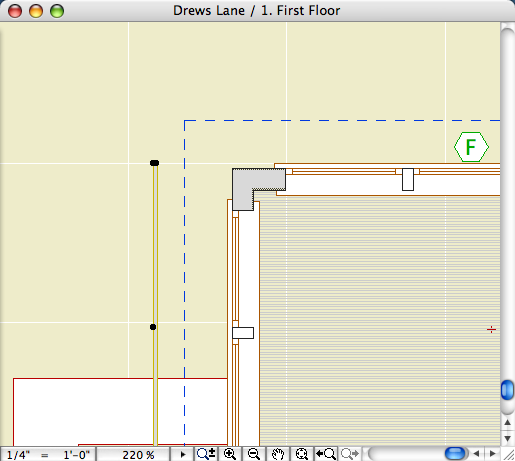
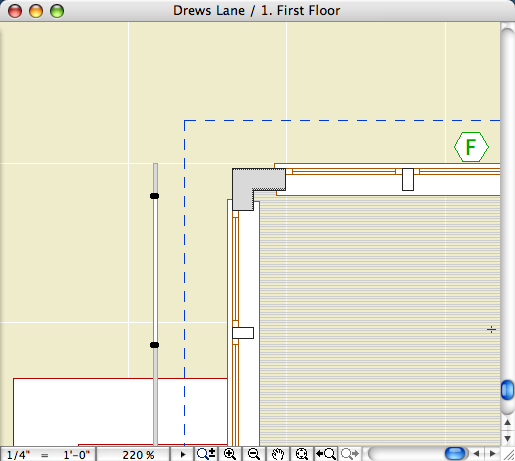
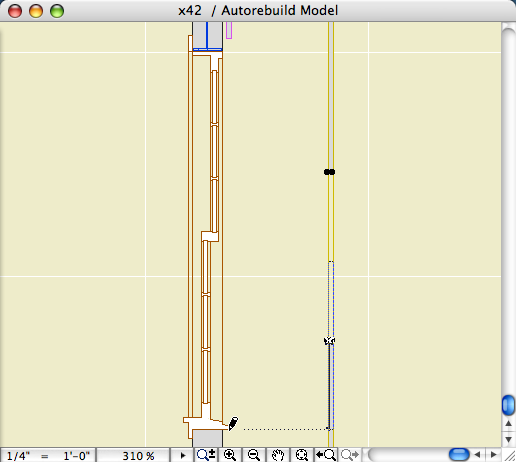
Now that pair is finished in both directions. To multiply the openings we need the on-center spacing of the windows. You can probably pick this up in the plan. In this image, I have the origin at the center of one window, I'm detecting the center of the next window, and copying the distance value from the Y field.

Stretch the elevation marker so you can see the whole wall, then reopen it. Select the two openings, and issue the multiply command. Use the increment method and the proper number of copies. For the copy distance, and type 'R'. If you copied the distance, you can paste it into the R field, otherwise, type it.
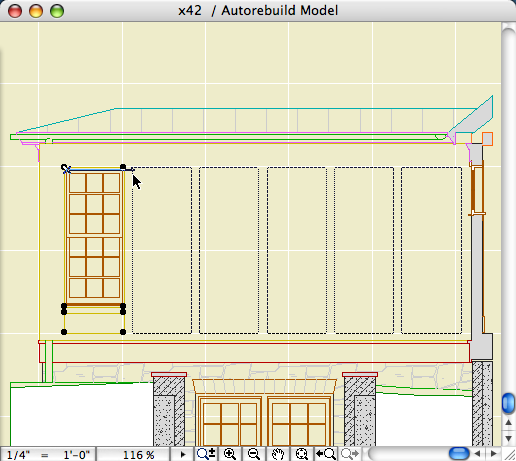
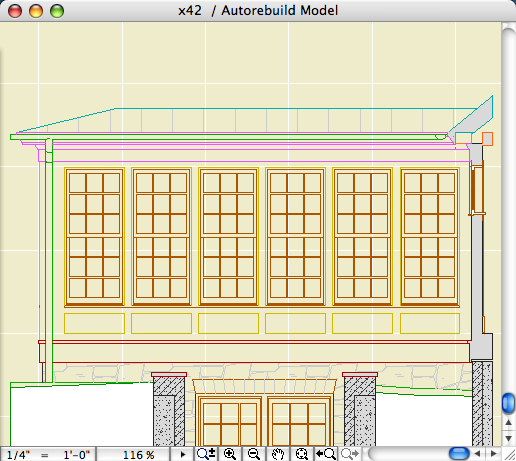
Here's the finished elevation:
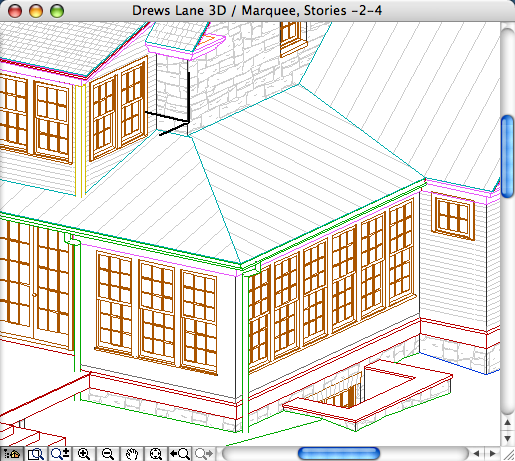
And here's the whole corner: